Installation
Dincel Structural Walling is different to traditional concrete formwork. A unique patented snap-lock joint connects the Dincel panels for fast and easy installation, delivering a fully waterproof wall when filled with concrete.
Dincel panels are lightweight for greater safety and manoeuvrability on-site, require no cranage or scaffolding and improve workplace safety.
If you require installation support or would like to contact a Dincel recommended installer, please contact Dincel today. Book in to a training class at Dincel Academy
Installation Process
Step 1
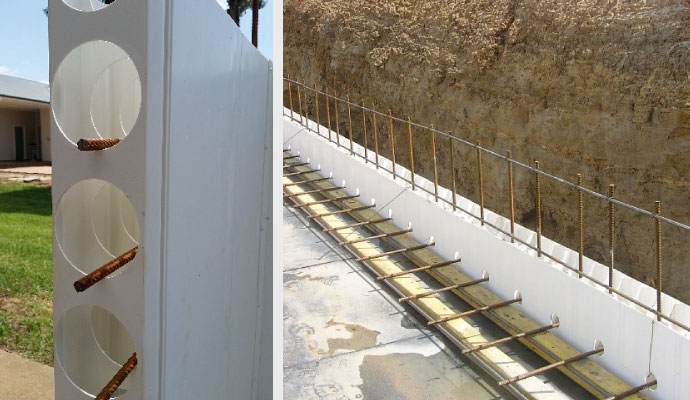
Confirm wall footprint & Starter bar spacings, as specified.
Confirm wall footprint & Starter bar spacings, as specified.

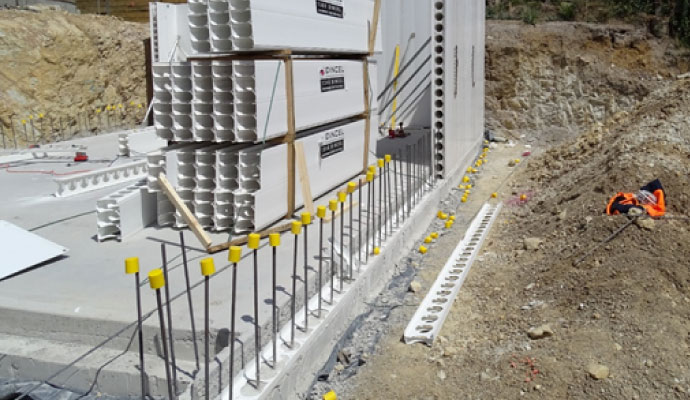
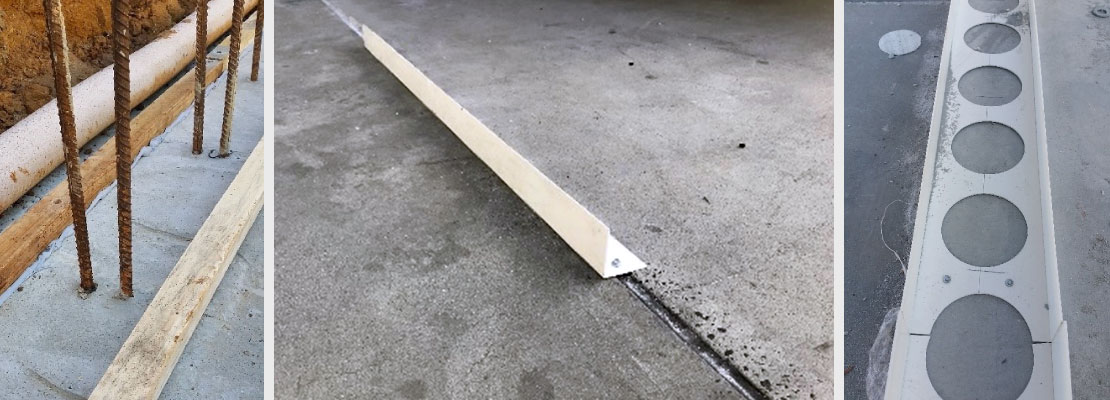
Step 2
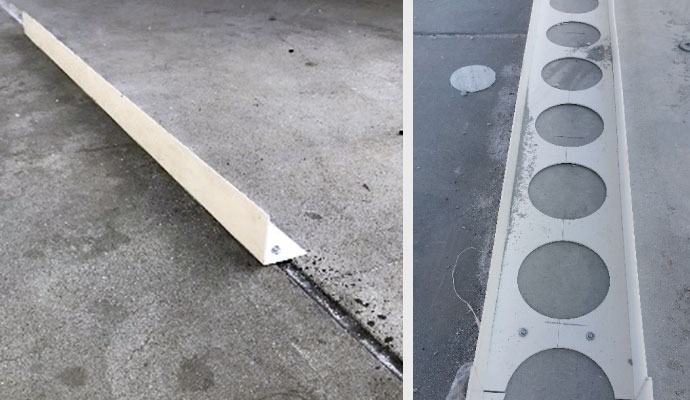
Flick stringline and install PVC angles (155P-TC) or timber guides to establish location of the wall. Where suitable, a guide track accessory may be used as an alternative.
Flick stringline and install PVC angles (155P-TC) or timber guides to establish location of the wall. Where suitable, a guide track accessory may be used as an alternative.
Step 3
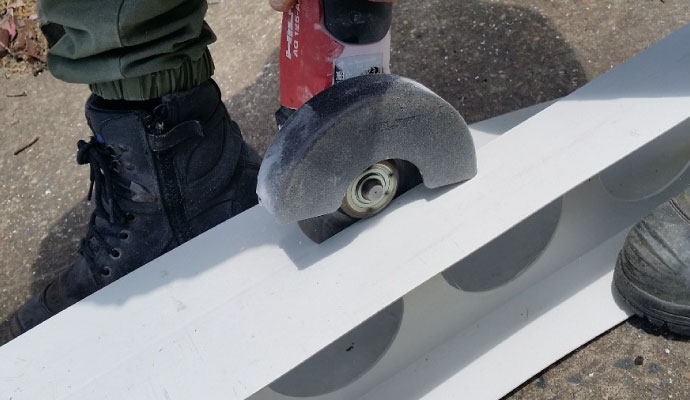
Dincel panels & accessories can easily be cut on site with cordless power tools.
Dincel panels & accessories can easily be cut on site with cordless power tools.

Step 4
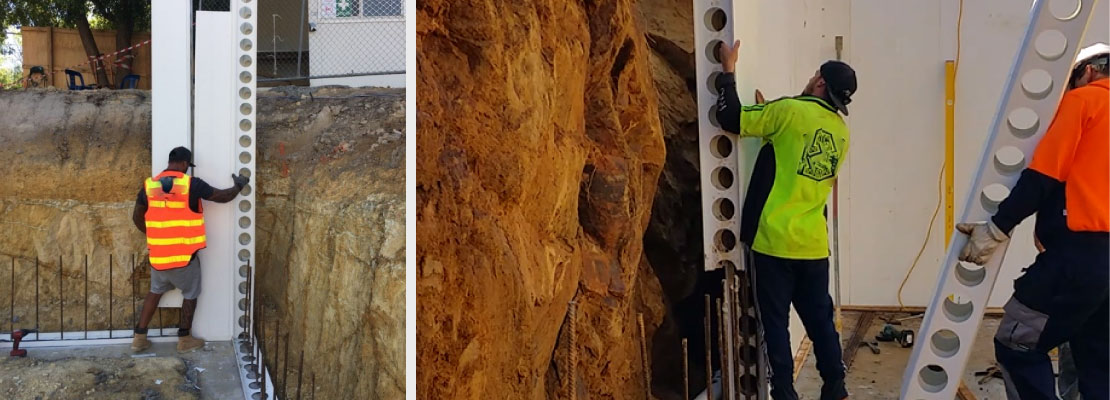
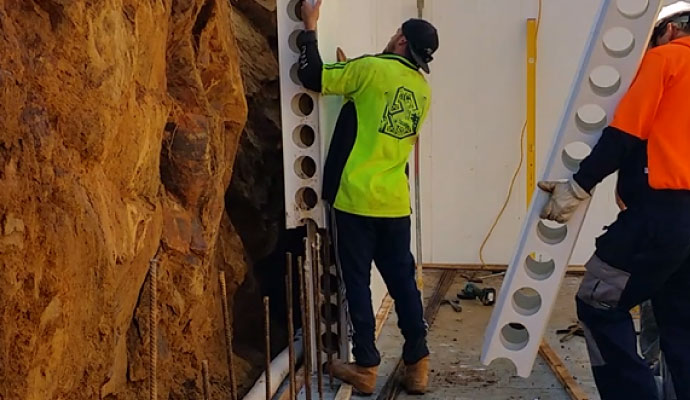
Lightweight panels simply snap together & slide over starter bars into position.
Lightweight panels simply snap together & slide over starter bars into position.
Step 5
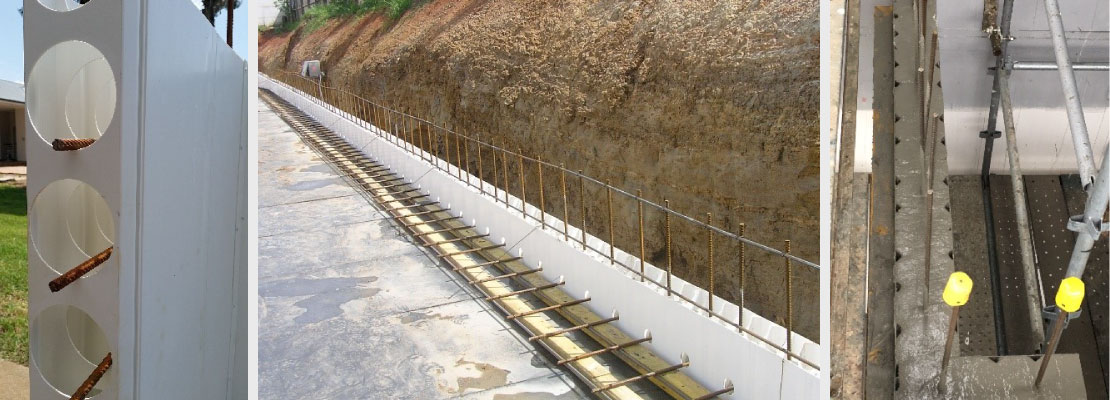
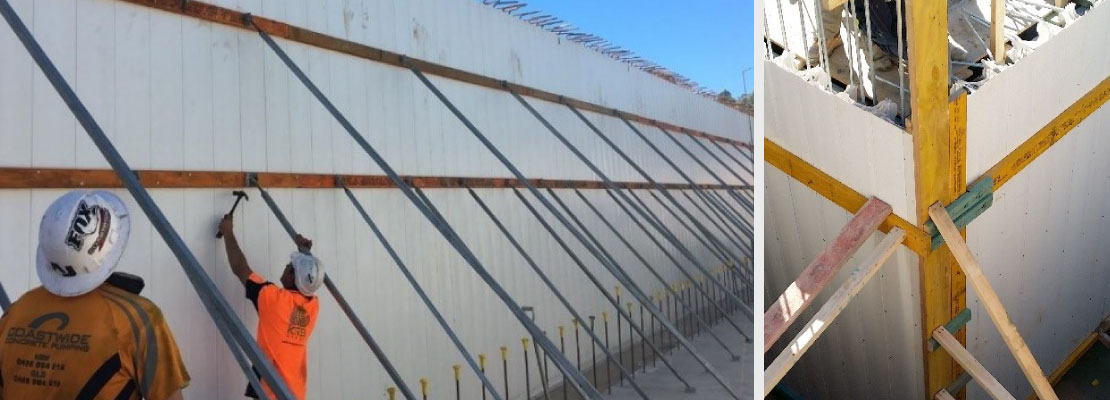
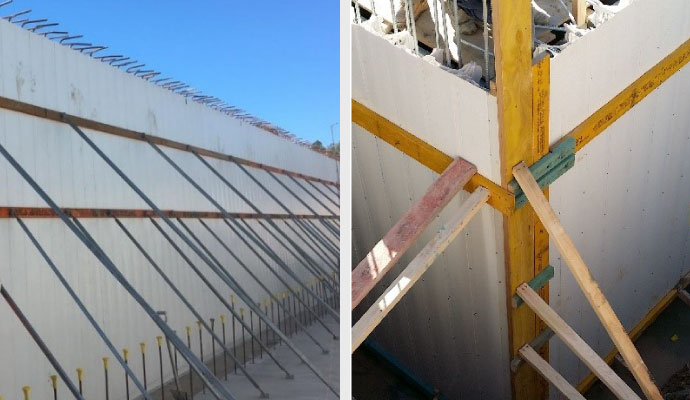
Simply place reo bars (vertically as specified and horizontally at 150mm increments if required).
Simply place reo bars (vertically as specified and horizontally at 150mm increments if required).
Step 6
Brace walls with props & walers (optional) or by fixing to formwork deck above & additional stiffening supports to openings & wall ends.
Brace walls with props & walers (optional) or by fixing to formwork deck above & additional stiffening supports to openings & wall ends.
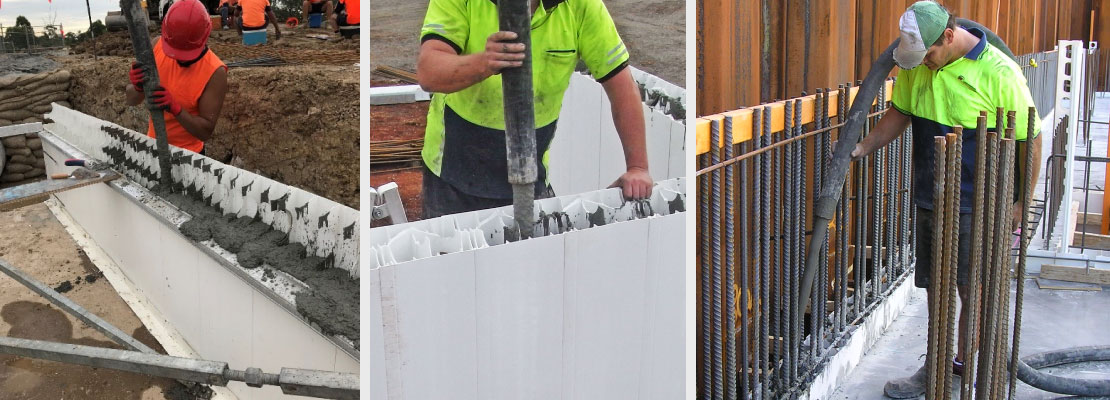
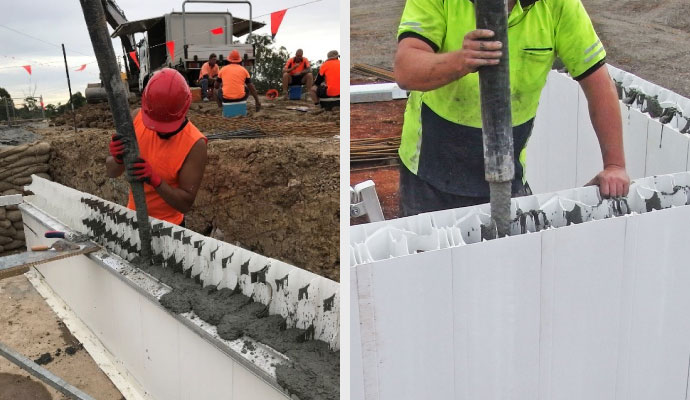
Step 7
Dincel panels are filled with ready-mix concrete after Engineers sign-off. It’s important that the pump nozzle is directed at the webs of the panel.
Dincel panels are filled with ready-mix concrete after Engineers sign-off. It’s important that the pump nozzle is directed at the webs of the panel.